I'm joining Beverly at How Sweet The Sound for Pink Saturday, a weekly linky party that I like to join as I LOVE all things PINK. I'm also joining Cindy Adkins of Whimsical Musings for a creative challenge.
This is a tutorial on this cute card I learned to make at the Scrapbooking Expo I went to a few weeks ago. I love the way it displays. I don't know what it's called but I guess we can call it "Display Card", why not.
Here's what it looks like all finished:

What you'll need: scrapbook paper and an image


First, cut your cardstock to sizes below:


I laid them all out so you can see the pieces and their sizes but you don't have to write the size on them.
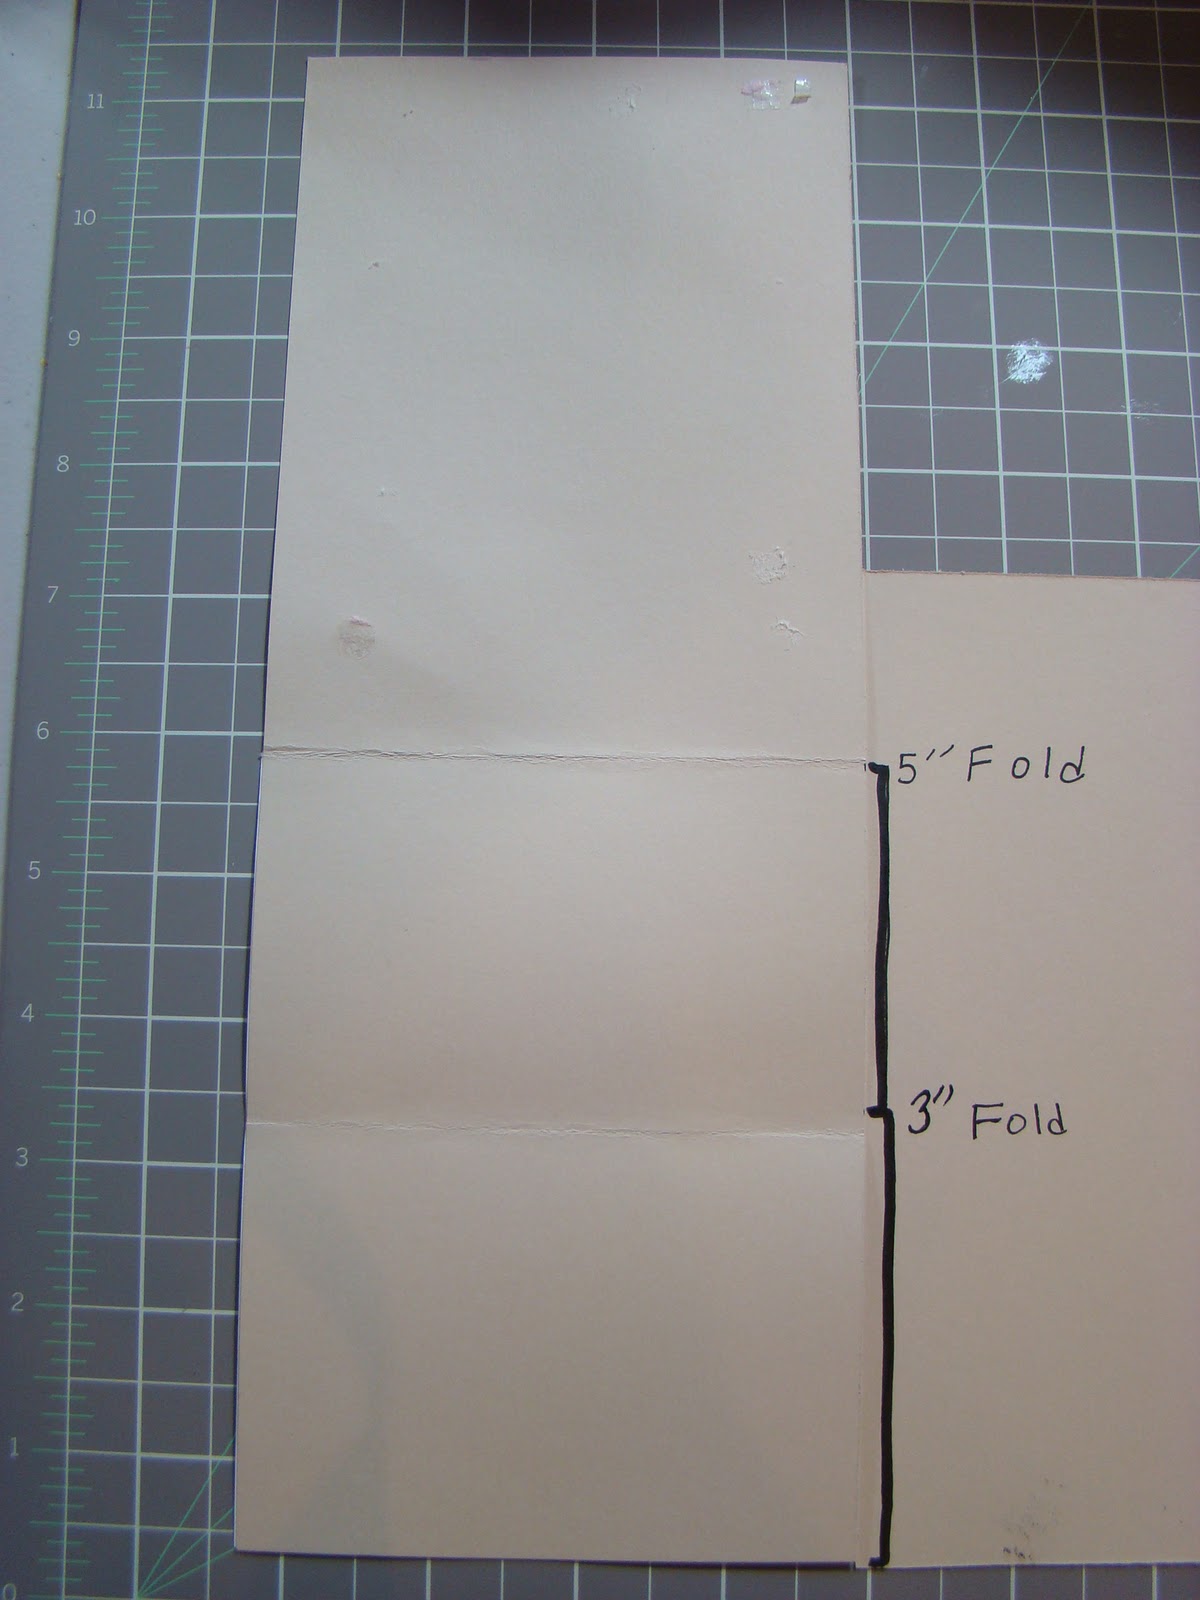
The 11" X 4 1/4 piece of cardstock is the base of your card. You will need to fold this piece like in the picture below at three inches and at five inches: don't mind the piece of cardstock on the right, I know it's a little confusing, I used it to show the measurements of the places where you will fold, it was either that or writing it on the gray mat....and I wasn't about to do that.


The next steps are just layering your pieces as the pictures below show, here's a side view:

Now, on to my Artist Trading Card (ATC)
The ATC card I received is from the talented Denisa of Full Of Gold. She made me this beautiful ATC that I just LOVE! I love the colors and the design. I'm using this one as a book mark, it will be nice to see it every time I open a favorite book.

It's made with fabric and a very soft felt. She embroidered right on the card! check out the texture on it:


Hope you are all having a wonderful weekend with family and friends, thanks for hanging out with me. Come back soon!


Maria, I love your tutorials.
ReplyDeletethe card is very pretty, that little flower is such a vibrant opal color.
I'm like that too with all my purses....!it's an affliction, I tell you!
I love the way the embossing powders work! your vase ATC is adorable.
have a great night.
lliked the display card and the ATC card, Maria!! Like I said before, you are very talented!! Good for your sister tackling cooking the turkey!! It always seems like such a daunting task especially the first time! I'm sure it was enjoyed by all!!
ReplyDeleteHave a good rest of the weekend!
betty
Great tutorials - thanks!
ReplyDeleteTHank you so much for the tutorial. I'm just starting and haven't made anything yet, so I'm going to follow yours. Thanks again. HUgza:) and Happy Pink Saturday Candi
ReplyDeleteLove your handiwork! I am such a klutz when it comes to doing anything like this! Hope that you are keeping well,
ReplyDeleteJane
The cards are awesome! Happy Pink Saturday. Hey, I having a give away!
ReplyDeleteGreat tutorial, what a pretty stand up card you made. Happy PInk Saturday.
ReplyDeleteThat was lovely. Thanks for the tutorial. Happy Pink Saturday.
ReplyDeleteLove your card and you are so great at tutorials. Hope you are having a happy day....
ReplyDeleteI wish I was as talented as you! I am yet to try making cards like this as i haven't really had any practice at it but having seen your pictorial instructions I really should give it a try. Thanks for posting them!
ReplyDeleteBest wishes and thank you for following my blog. I look forward to learning some more crafty things from you!
Natasha.
you make magic with paper, Maria!!!
ReplyDeleteYour cards are just beautiful!!!
Great card and the ATC's are beautiful.
ReplyDeleteHappy Belated PS
Gail