"Sometimes adventure calls and we ignore it. We miss the opportunity for a lifetime of memories. Go ahead, be adventurous" ~Maria Villanueva

October 13, 2010

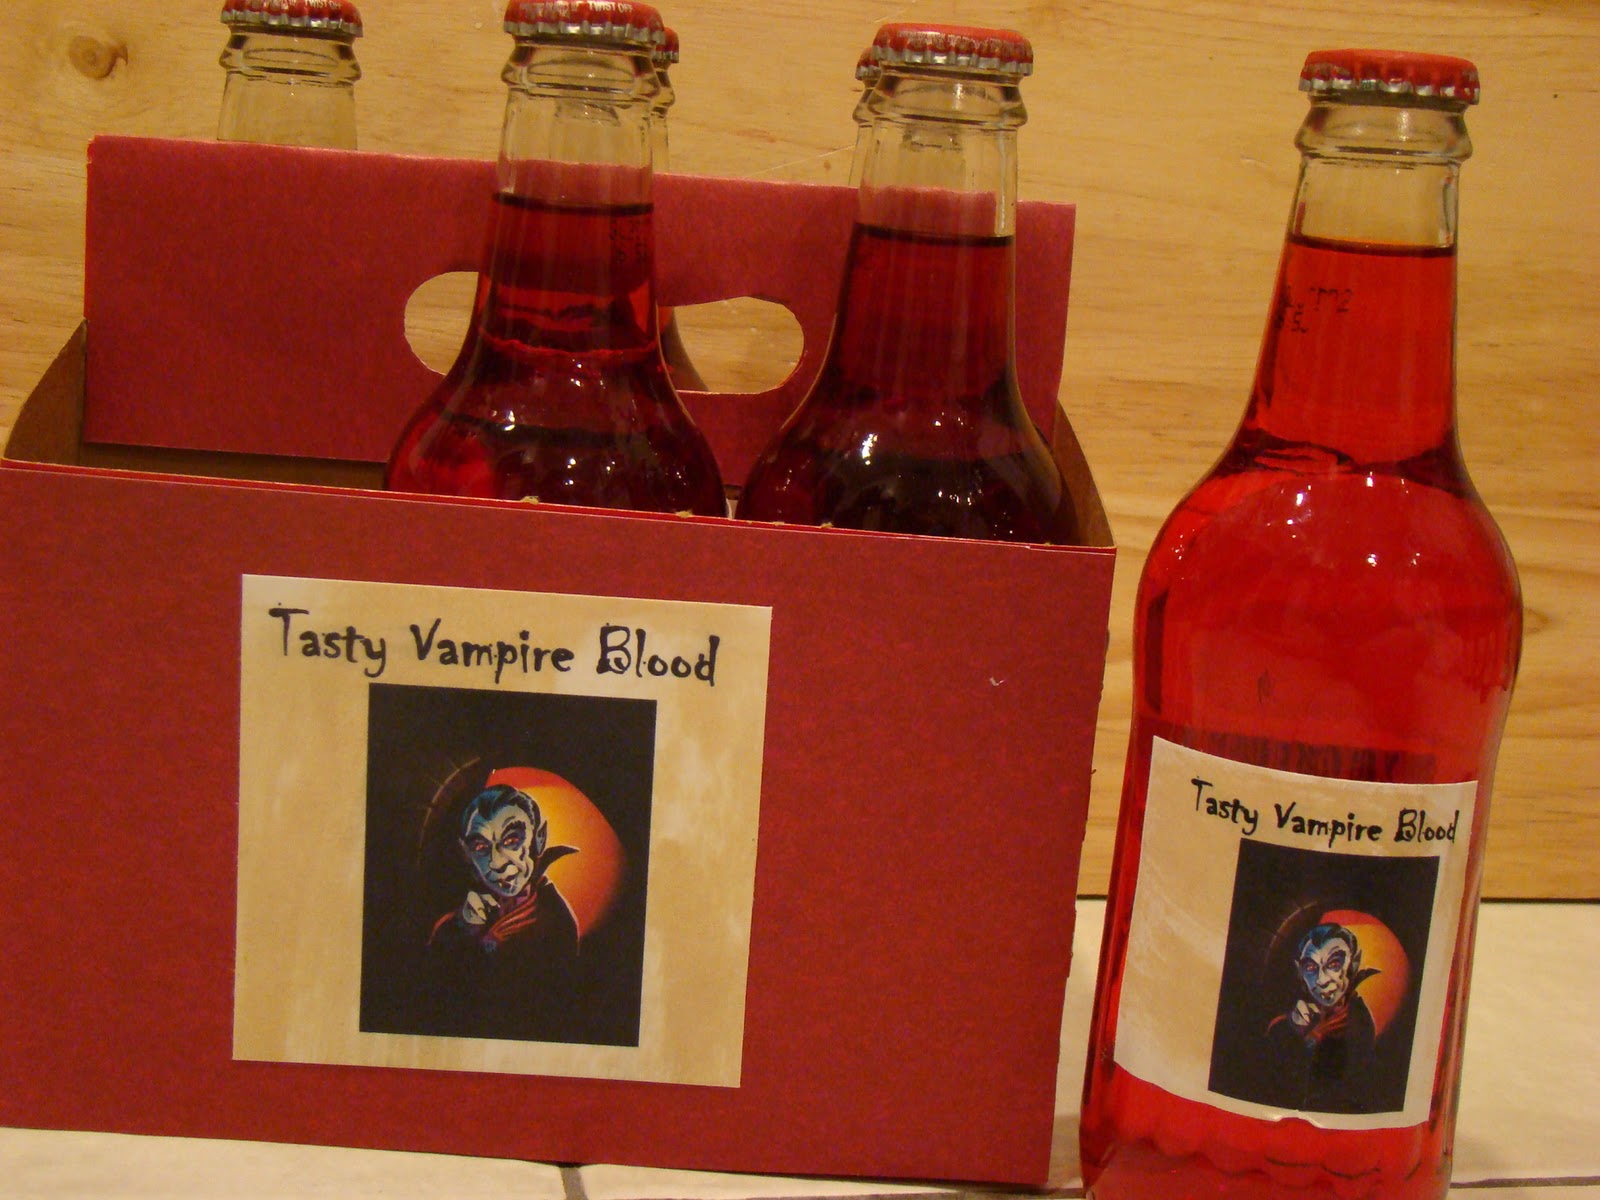
Spooky Sodas

Halloween is just around the corner and if you're hosting a party, you're probably already planning everything from the creepy decorations to the scary invitations to the gross and funky food.  This is an easy project that will add a little fun to your Halloween party and your guests will enjoy.   

Here's what I used:
The awesome Mod Podge and colored paper, you will also need white printer paper to print graphics for the labels
a paper trimmer or scissors


Acrylic paint
a variety of sodas.  I used Crush because they had all the Halloween colors.  The grape colored sodas actually look black, perfect for bat juice


First, trace out the box tray with colored paper and trim to size.  Next, use Mod Podge to glue pieces on the box
Print out some labels using Microsoft Word or download them from the internet.  I used some Ranger Distress Ink to distress the picture

Rub the ink on the paper.  The distressed picture will look like this:

Trim your labels with scissors and use Mod Podge to glue on the bottles and on the boxes


Next, paint the tops with acrylic paint


and here's the finished product:


Cute aren't they?

October 10, 2010

Halloween Bloody Necklace

I took my youngest child, seven year old boy, shopping for his Halloween costume and after looking around a bit, he picked a Zombie costume.  As we walked to the fitting rooms, he noticed a Vampire costume and decided to try it on as well.  After trying them on, he was so excited about both costumes that he wanted to bring them both home.  I said, no, to please pick only one.  After careful thought and consideration, he announced to me, and all the other people in line waiting for a fitting room, that he was going to be a "Zomvamp" for Halloween.  Puzzled at his public announcement, I asked, "what is a Zomvamp?" to which he replied, "a combination of Zombie and Vampire, see mommy, you have to get me both!".  What's a mommy to do?? of course I got him both! my little "Zomvamp"!

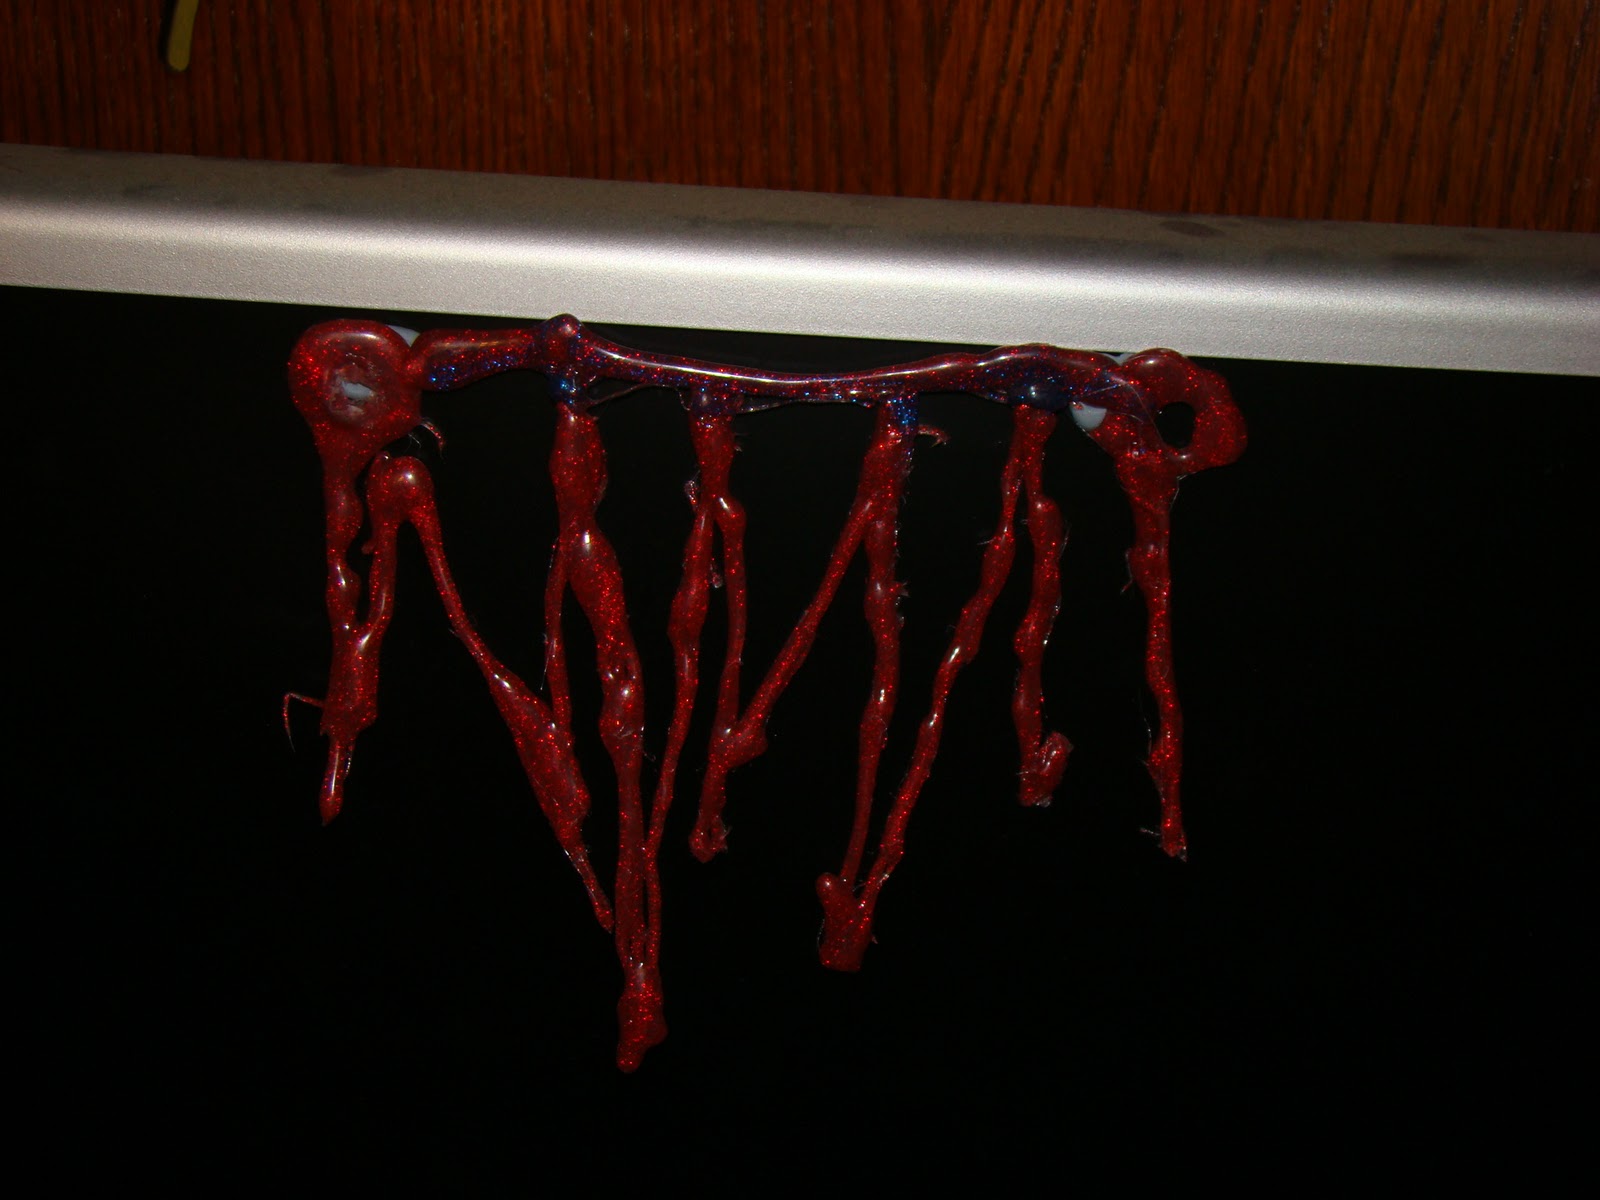
I've mentioned before that I don't like "gory" stuff on Halloween, however, every now and then I'm inspired to make something gory.  Like this necklace, for example:


That is definitely gross! it looks like blood spewing out of my neck!


If you want to make your own bloody necklace, here's how I made it:
First, draw on a scrap piece of paper, droopy blood and place a glass on top. You can borrow a glass from one of your picture frames: Don't forget to make circles on each side to pull the ribbon through to hold it.
Next, use your glue gun with a red glue stick to trace on top of the glass:
 let it dry and peel off the glass:
tie some ribbon to the ends:

You can also use some of the tacky stuff to adhere it to a mirror or PC monitor:
You can find it at your local hardware store or Target or Walmart:


Hope you liked this creepy bloody Halloween necklace and may your day be filled with fright.


I'm joining these linky Halloween parties:
http://itsablogparty.com/all-halloween-bash/
http://www.sawdustandpaperscraps.com/2010/10/just-t-shirt.html

It's a Blog Party

October 08, 2010

Pink Halloween Divas

Hello To All Pink Ghouls, ahm, Girls Out There

Today I have something very special for you to see.   I have been wanting to introduce you to these rubber stamps since I started blogging.  They are my favorite stamps from a huge collection at Stampotique . Although they look "Halloweenish" I use them all year long.  Stampotique has a designer's blog where they post projects made with their rubber stamps (http://stampotiqueoriginals.blogspot.com/).


Here's how I made it:
First, cut out your paper to the size you need and collect all your stamps and embellishments.  These stamps were purchased at Michael's the arts and crafts store.

If I were to describe my relationship with Michael's, I'd say he's like that "bad boy" boyfriend you had in Highschool.  You know the one.  You know you SHOULDN'T date him, as the consequences might be dire, leaving an arm and a leg there (for international readers, that means leaving all your money there).  BUT! you just can't help but visit him because you're......IN LOVE.  And if mom said you can't date him, well, fooie, you just will do as you please because you're.....IN LOVE.
And I know I'm not the only girl In love, I once heard a lady say, "Helloooo Lover" right in front of the store! And he teases you with those 40% off coupons, oh yes he does! and those coupons sure look good. 

Ahm, back to reality, here are the stamps from Michael's:

 and here's my background stamp, also from Michael's:
And these awesome stamps from Stampotique:
 I also used this product from Tattered Angels, sprayed all over my white paper, after all the rubber stamping had been done:
 And this product, from Marvy Uchida, I used this on the cat to give him fur.  It's very easy to use, just color in the area and use a heat gun to warm it up, the paint will puff up like velvet:
You can see the detail on the cat here:
 I used a fun technique called, masking.  You stamp on your project, then you stamp on a scrap paper.  Cut the images out from the scrap paper and use them to cover your project images.  Use removable adhesive like the one on the picture.  You can find this adhesive at Michael's or on ebay.  Adhere your cut outs on top of your stamped image on your project.  Once your project images are covered, you can spritz, stamp, water color, or do anything to your project and your images will not be affected by it.  Once you're done, remove the scrap paper image and your project image will be clean.

Here's my project images covered by my scrap images:
Now I can go ahead and spritz and rubber stamp on top and the image underneath will not be affected.  Once I'm done rubber stamping the background, I can remove the scrapped cut outs and the image underneath will be ready for me to color.
You can see that the paper the girls are on is pink, that's because I sprayed them with the Tatterd Angels spritz.  It gave the paper a pink tint and glimmer shine.

I also used these cool non-smear  chalks to add color to the three Divas:


 Hope you liked this project, let me know if you will give it a try so I can come over and see.

hope you have a scary weekend!

Today I'm joining Cindy Adkins at Cindy's  Whimsical Musings Creative Spirit Challenge:


and Beverly at How Sweet The Sound in her Pink Saturday Linky Party

LinkWithin

Related Posts with Thumbnails