I love art and music but I can't draw and I don't know how to play any instrument and if you heard me sing........well, let's just leave it at that. Although I'm a very passionate person, I'm very limited in my artistic abilities. Thank goodness I have bloggie friends who are very talented and allow me to use their artwork in my crafty endeavors. One such friend is Calej, of Calej D' Art, whom I met through Cindy at I Owe It All To Him. Visit Calej's blog, you are going to love her drawings and her other creations.
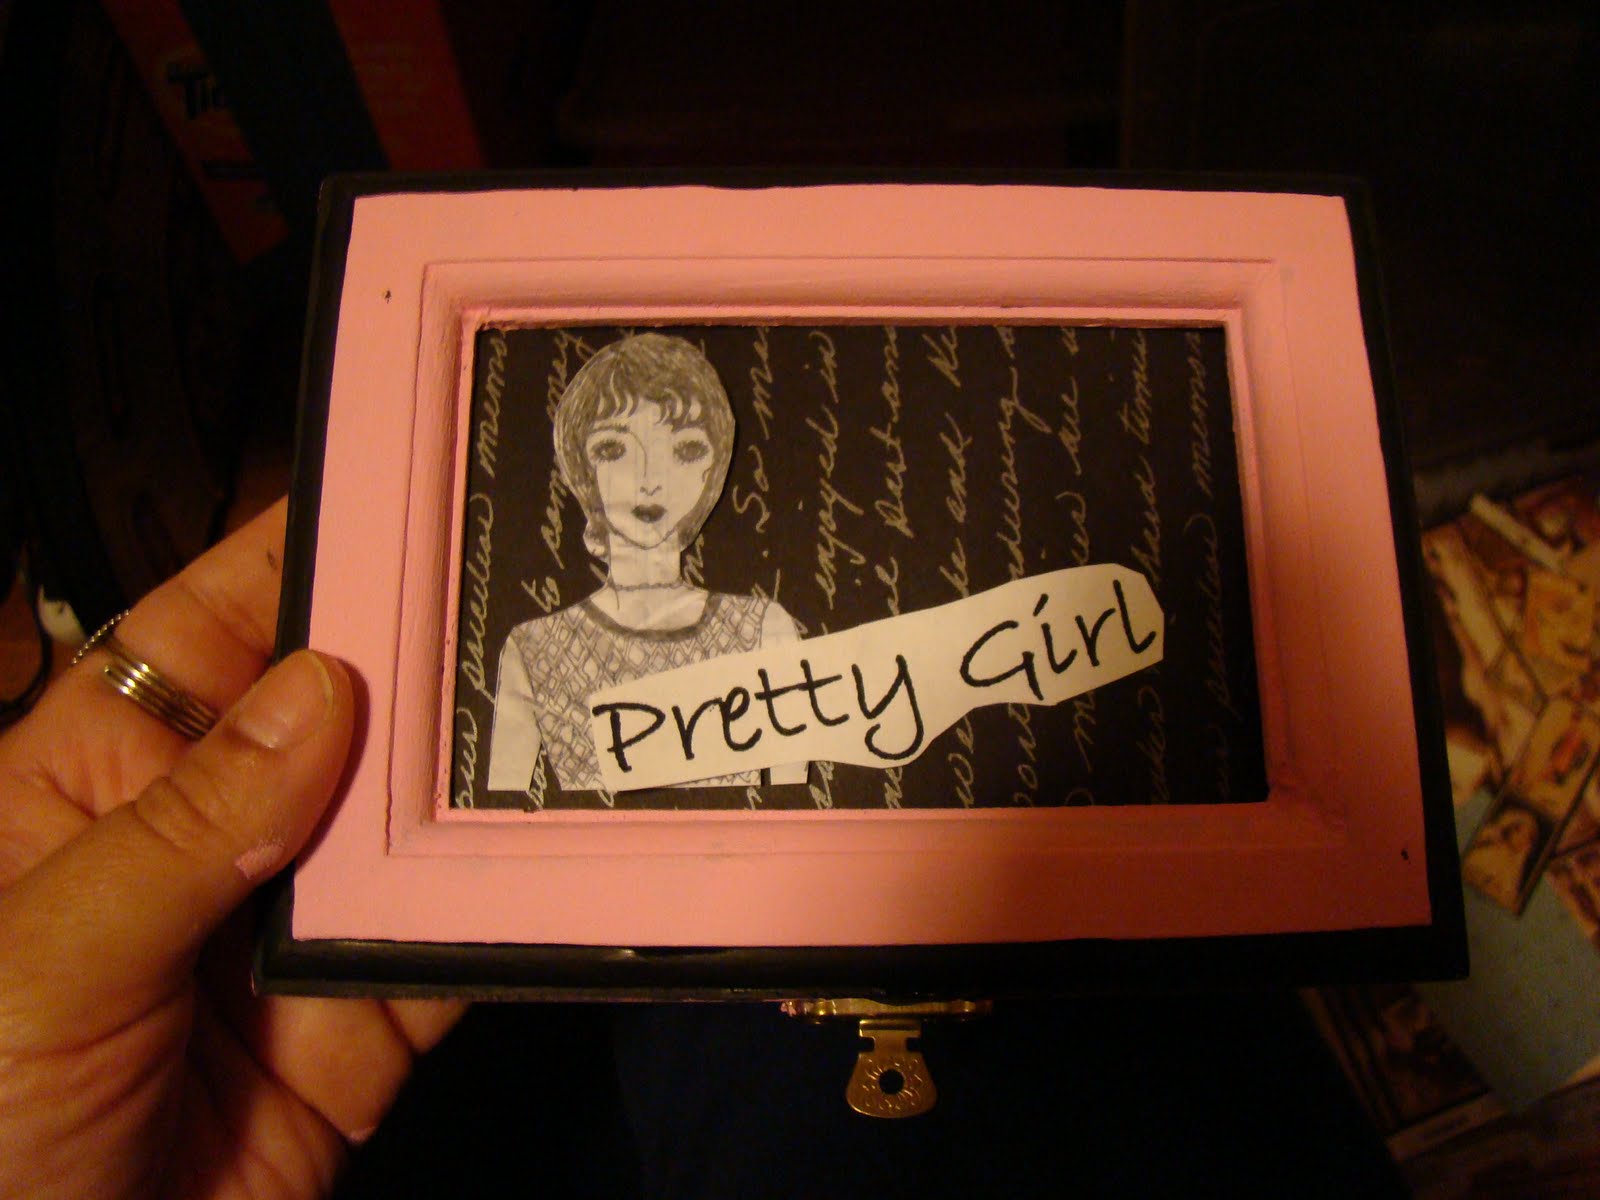
Here's what the box will look like when finished:

Here's what you'll need: a wooden box from Michael's (they're only about three dollars), scissors to cut out your pictures, acrylic paint, painter's tape, a picture, a saying printed from your computer, sanding square.

First, sand the box so that it's nice and smooth. Paint your overall color, mine is pink:
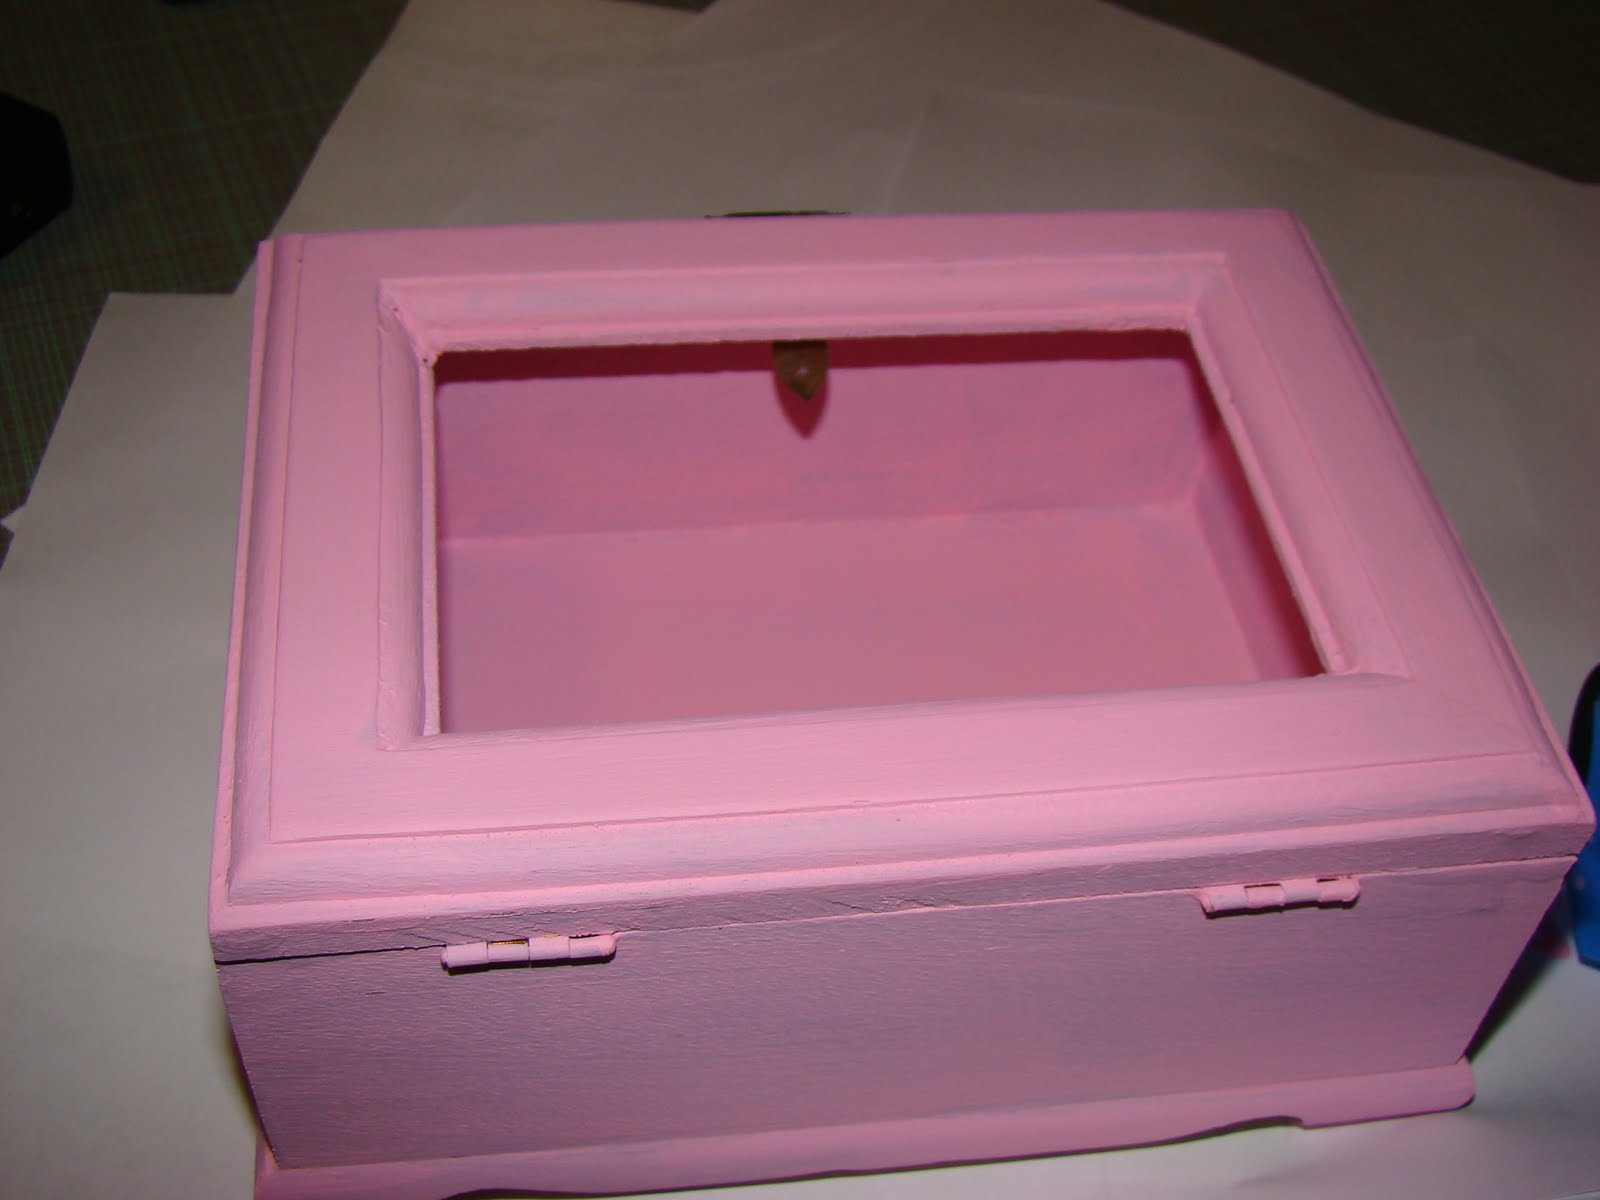
Give it a couple of coats letting it dry in between. Next, use painter's tape to block off stripes on the box for your design. At this point, PAINT IT YOUR BASE COLOR AGAIN OVER THE PAINTER'S TAPE. This will give you nice crisp lines. Sorry, I don't have a picture of this step that's why I capitalized it so you don't miss it.


Next, remove the tape

You can touch up any areas that need it.
I then cut out Calej's drawing and a saying I printed from my computer using Microsoft Word and taped them to a piece of scrapbook paper. Place underneath the glass and insert back in the box:

If you want to see other Pink Saturday Posts, visit Beverly at How Sweet The Sound and you won't be disappointed.


