"Sometimes adventure calls and we ignore it. We miss the opportunity for a lifetime of memories. Go ahead, be adventurous" ~Maria Villanueva

July 30, 2010

Pink Jewelry Box

For my Pink Saturday post I'm going to share a tutorial of a box I made a while back. It's going to be a gift to one of my teenage nieces but it's only part of what I want to give her. I also want to make some jewelry pieces to go with it.

I love art and music but I can't draw and I don't know how to play any instrument and if you heard me sing........well, let's just leave it at that.   Although I'm a very passionate person, I'm very limited in my artistic abilities.  Thank goodness I have bloggie friends who are very talented and allow me to use their artwork in my crafty endeavors.  One such friend is Calej, of Calej D' Art, whom I met through Cindy at I Owe It All To Him.  Visit Calej's blog, you are going to love her drawings and her other creations.

Here's what the box will look like when finished:

Here's what you'll need: a wooden box from Michael's (they're only about three dollars), scissors to cut out your pictures, acrylic paint, painter's tape, a picture, a saying printed from your computer, sanding square.


First, sand the box so that it's nice and smooth.  Paint your overall color, mine is pink:

Give it a couple of coats letting it dry in between.  Next, use painter's tape to block off stripes on the box for your design.  At this point, PAINT IT YOUR BASE COLOR AGAIN OVER THE PAINTER'S TAPE.  This will give you nice crisp lines.  Sorry, I don't have a picture of this step that's why I capitalized it so you don't miss it.
After you paint it your base color over the painter's tape, paint your stripes (mine will be black)


Next, remove the tape

You can touch up any areas that need it.

I then cut out Calej's drawing and a saying I printed from my computer using Microsoft Word and taped them to a piece of scrapbook paper.  Place underneath the glass and insert back in the box:
 And the final box:
For my Pink Saturday challenge, I'd like to mention my new bloggy friend Sandie of Chatty Crone.  She is also a Pink Saturday participant and joins in from time to time.  Visit her blog, she will make you smile and she will make you laugh and she will also inspire you with her posts.   

If you want to see other Pink Saturday Posts, visit Beverly at How Sweet The Sound and you won't be disappointed.


New Look, Come Look

I have a new look for my blog!!

My inspiration was this pretty scrapbook paper I found. After I created the new look for my blog, I decided to use the paper to make my mother a pretty card.  This is what it looks like finished:

My mother is a beautiful person and this card is all her.  Her cheery personality, kind nature and loving heart are captured in this card.
here's what you'll need: a white blank card and envelope, rubber stamp, scrap paper with print, scrap paper in a solid color, a double sided tape, paper cutter or scissors, and a ribbon.
 First, cut your paper so that the print paper is slightly smaller than the solid and the solid paper is slightly smaller than your blank card. Tape the  card stock and place ribbon inbetween the solid piece and the blank card.


Place the printed cardstock on top and make a bow with the ribbon.

Next, write a sentiment or use a rubber stamp:

It's so easy to make a beautiful card for someone special.  My mother is going to love it!


Vacation

We have been busy these las few days vacationing.  Here's some pics from the places we've visited so far:

Silverwood Lake, Hesperia California 
I come from a large family, eight siblings, and we all have families. We are all outdoors people.  One of our favorite things to do as a family is go camping.   We spent a lot of time at the lake as well as hiking, biking and singing and dancing around the campfire.

Here's our tent, we love roughing it out.


I just love these rocks:

Below is just one of the three campsites we occupied.


We also visited Port O Call, San Pedro California

 I love the buildings there, I couldn't find the one where my husband (boyfriend at the time) had our pic taken:
 Could it be the one below but transformed???

 I love the brick and windows are beautiful too
Candy stop, this store's owner was a fun and energetic lady in her 60's.  I wish I had a pic of her to post, she was very friendly.

Dexter was being filmed when we visited.  I was able to take these two pics.  I would have taken more pics of the filming, specially when they were acting but we were hungry and were really looking forward to sea food.  He waved at us when we said hello.

Tomorrow we're off to San Diego for a few days to visit relatives, Shamu and a karaoke party!!! The first song I'm going to sing is a pshychedelic rock song titled, Sunshine Superman by Donovan.....why???? 'couse I love that song! so tomorrow at exactly 6pm (Pacific Standard Time), I will be singing that song and dedicating it to all you who take the time to read my wacky posts.  Thank you all, hope you're having a wonderful week.

Here's a link on You Tube
http://www.youtube.com/watch?v=X_4DsNFQS98


July 19, 2010

Housewife Sewing Kit

What a cool way to finish up a BIG day by making a special gift for me! and boy do I deserve a little something today. I love the color pink, it's such a pretty color and living with three boys (hubby, and two sons), the only place I can use pink is on me.

In the 18th century, people used to call sewing kits, housewives (see Wikipedia).  So today I made a pink housewife.

I needed something nice to store my needles, which by the way, I purchased at Sprouse Reitz in 1990! My nephews were so small back then. I'll have to tell you a funny story about them way back then. My nephews were between six and eight at that time and they had a cat whom they named Thelma, but soon after, my younger sister announced that it was a MALE cat. So the kids, innocently changed her name to Mr. Wilbert. From then on, he was Mr. Wilbert, the cat, we all called him. I didn't realize this made the kids confused. In fact they didn't appear to be confused at all.   UNTIL ......... a few days later when we decided to have a party.  The party was a family gathering at my mother's house on a hot summer night. For some reason, we decided to have it in the middle of the week.  I forget what we were celebrating but it was pretty loud with music and dancing and singing.  Soon, after midnight, we hear a loud knock at the door and both my sister in law and I got up to answer the door.  To my surprise, two policemen were at the door! I was extremely embarrassed that my neighbors called us in.  I apologized to the police officers and all of a sudden, my nephews run to me and stand between me and the police officers.  Now my face is tomato red because it's the middle of the week and it's past midnight and the kids are not in bed (shame on me, right?).

The boys hold up the cat, Mr. Wilbert, and proudly announce to the police officers that, "the cat is........... gay!"

My face turned all the colors of the rainbow by this innocent and misguided proclamation!   

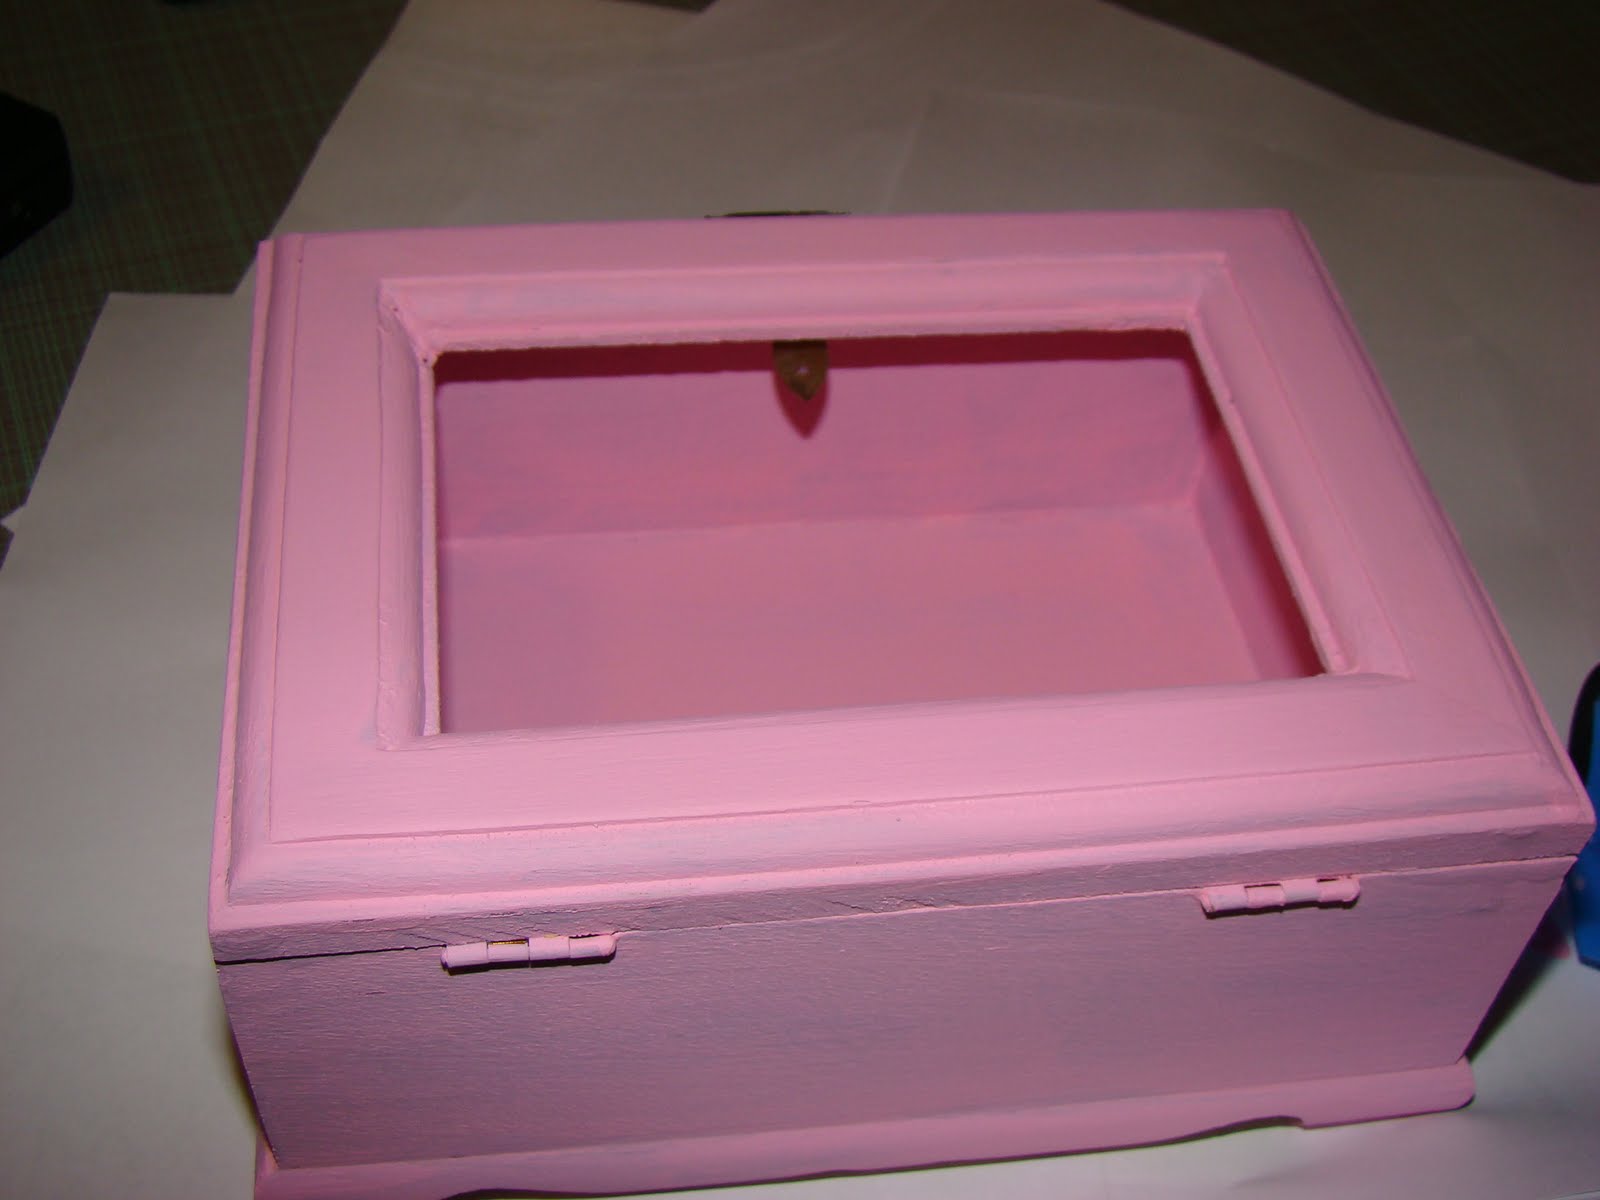
Now, back to my housewife.  Here's what it will look like:


Here's what you'll need; scissors, empty altoid tin box, acrylic paint, paper glue, brush, scrapbook paper, ribbon, scrapbook picture for embelishment and a low grit sand paper:
 and a crop-a-dile to puch out the holes on top for the handle.  You can skip that step if you don't have a crop-a-dile.

 You will also need felt, hot glue gun and needles:

First, you'll need to sand your tin box in the places you want to paint.  I just want to paint the sides of the lid to coordinate with the paper.
You don't have to take all the pain off the tin, just scratch it enough so the paint sticks to it, like this:

Next, paint the tin, I painted mine pink:

Then, after it dries, pour  some glue on top and spread with your finger and place your paper on top, like this:
Next, cut the excess paper around the tin with your scissors, as close to the tin as you can, like this:
Here's what it will look like, front and back:


next, use your crop-a-dile to punch two holes


Then, pull ribbon through, isn't this ribbon pretty? pink hearts
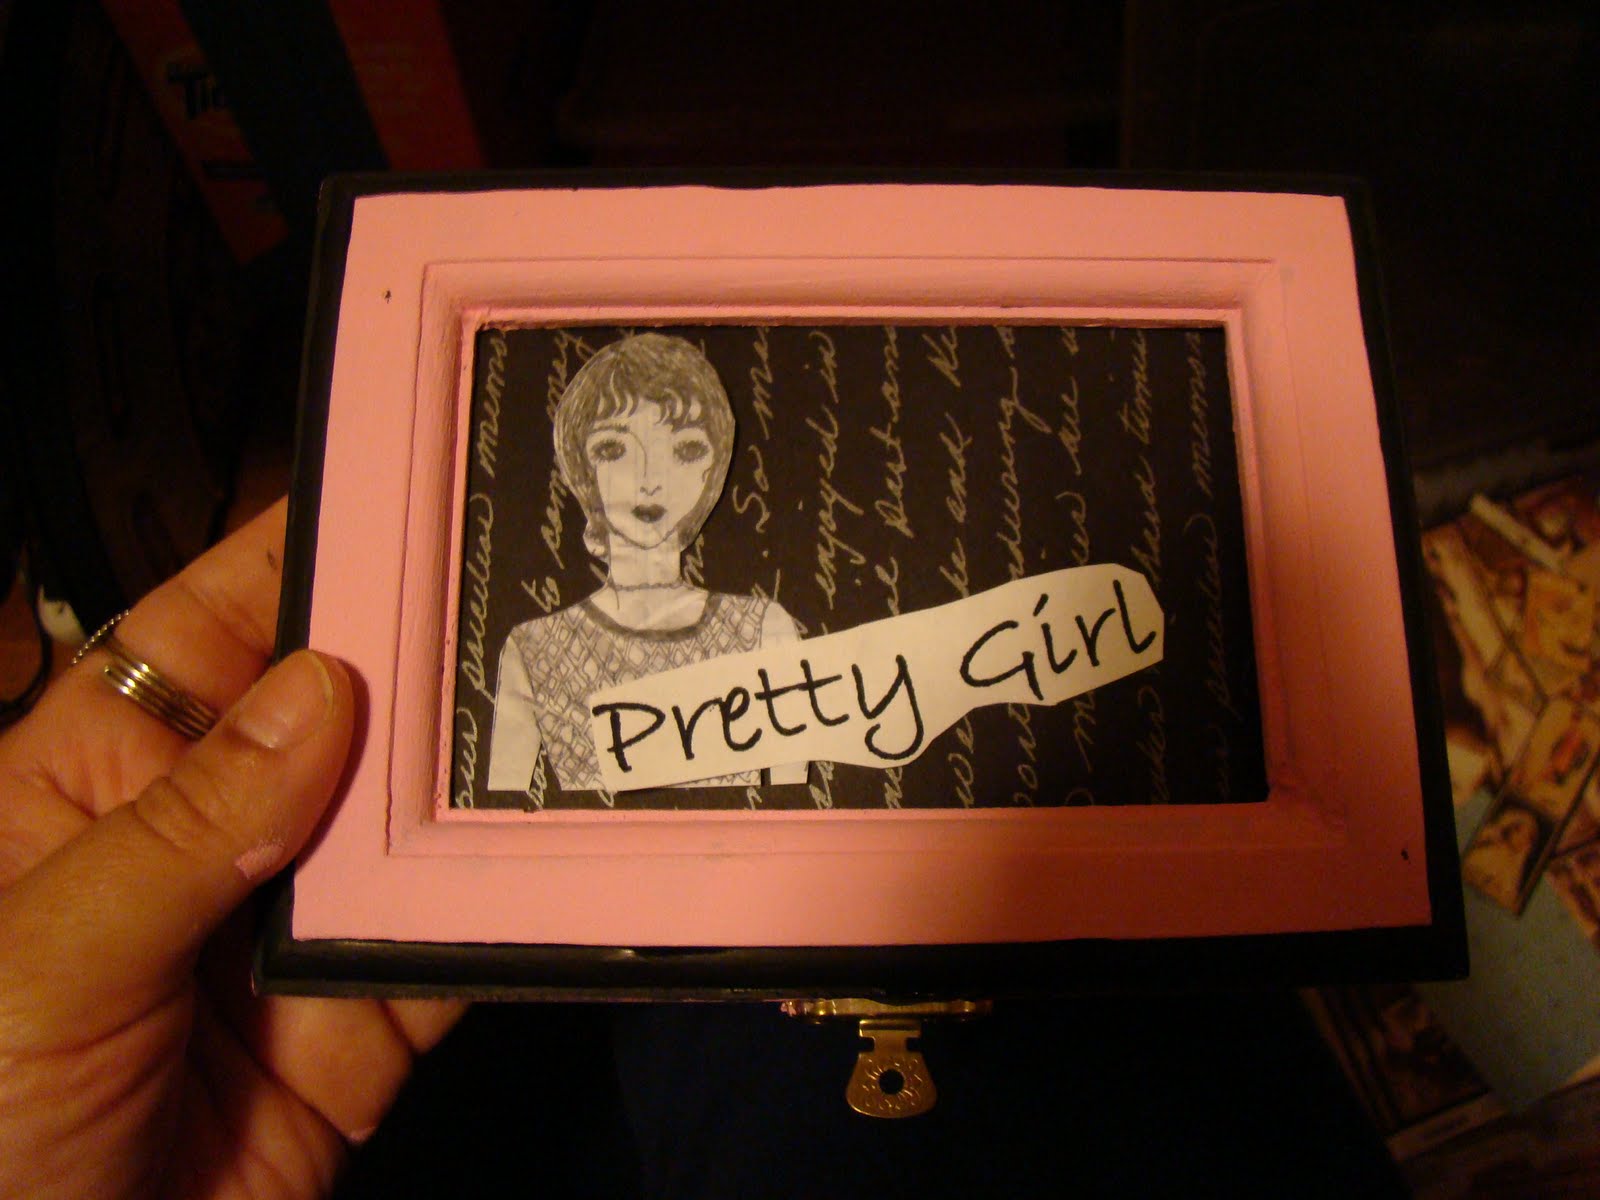
 you will need to sew the ribbon inside the tin so it holds.  Next, glue a piece of paper on the inside of the lid.  Spread the glue with your finger then place the paper on top and let dry.  Once dry, use a picture or scrapbook image to decorate.
 It will look like this:
Next, take your felt and cut a 7" X 3" piece.  Hot glue the end of the felt onto the inside of the tin:

For measurement, accordion fold the felt inside the tin:
 Next, add your needles:

  I added a few hearts from the heart ribbon and a flower, to see the flower tutorial, go here

And this is what the back looks like:

Isn't the ribbon pretty:
 
 I also took a picture with the flash so you can see the paper.  It has glitter that doesn't rub off, pretty cool paper, click on picture to see it larger:


Linking to:


http://meandmybucket.blogspot.com/
http://nightowlcrafting.blogspot.com/


For my Pink Lady challenge, I'd like to introduce Veronica, from Thru Veronica's Eyes.  Go check out her blog, she shares her breath-taking  beautiful pictures on her blog.

LinkWithin

Related Posts with Thumbnails