"Sometimes adventure calls and we ignore it. We miss the opportunity for a lifetime of memories. Go ahead, be adventurous" ~Maria Villanueva
Showing posts with label halloween decor. Show all posts

October 28, 2011

Vampire Coffin Mini Album

My Halloween decor continues today with a cute mini Vampire coffin album.  Perfect for small Halloween photos and mementos.  Here's what it looks like finished:


Here's what I used: a paper mache coffin you can get at an arts and crafts store
A variety of crylic paints, I used black, white and silver.  Also some jewelry findings.
 

I first painted the coffin black and the side of the lid in silver.  I painted the inside of the coffin in white.  I attached the jewelry findings to the lid.

To create the mini album.  Take the lid of the coffin and use it to trace a template to make the pages for the mini album.  Remember to cut inside the line at least a quarter inch so it will fit in the coffin when done.
Next, fold an 81/2" by 11" sheet of heavy card stock paper (in the scrapbooking section of an arts and crafts store) I used white and gray cardstock.  Place template on the fold.  Trace and cut, this will give you two attached coffins.
cut several this way (ending with an odd number of pages cut; 3,5,7 etc so it will fold nicely on the front and back).  I alternated between the gray and the white cardstock. Next overlap one of the coffins with the next set each time and glue together.  This will give you an accordion type fold on all your pages.
accordion fold:

Here's my finished mini album, I used fancy scrapbook paper to cover the front of the album and I added a label.  I added some flowers for embellishments:

here are the inside pages ready for some Halloween scrapbook paper and pictures:

here's a look with album inside coffin:
side view of coffin:
front view
BWAHAHAHA! 
ThE CouNt WisHeS YOu A SaFe And HaPpY HaLLOweEn!


October 27, 2011

Halloween Decor

This month is just flying by and I have so much left to do.  Why is it that when you have a long to do list, the days just fly by.
I have some glass vases for Halloween that you can use to decorate your home.  I love these, they look great and are so easy to decorate.


I started with some paper die cuts:
I distressed the white fence with some Tim Holtz distrssed ink, walnut stain and black soot

and added some black birds used a Martha Stewart paper punch
I purchased three different sizes of glass at the dollar store

paired them up with candle holders
I used Gorilla Glue to glue them together, let it dry over night

add your cut outs using Mod Podge glue

here's a different version using a Sharpie marker for the vine and the same Martha Stewart paper punch for the birds

Hope you're all having a spooky day!

October 13, 2010

Spooky Sodas

Halloween is just around the corner and if you're hosting a party, you're probably already planning everything from the creepy decorations to the scary invitations to the gross and funky food.  This is an easy project that will add a little fun to your Halloween party and your guests will enjoy.   

Here's what I used:
The awesome Mod Podge and colored paper, you will also need white printer paper to print graphics for the labels
a paper trimmer or scissors


Acrylic paint
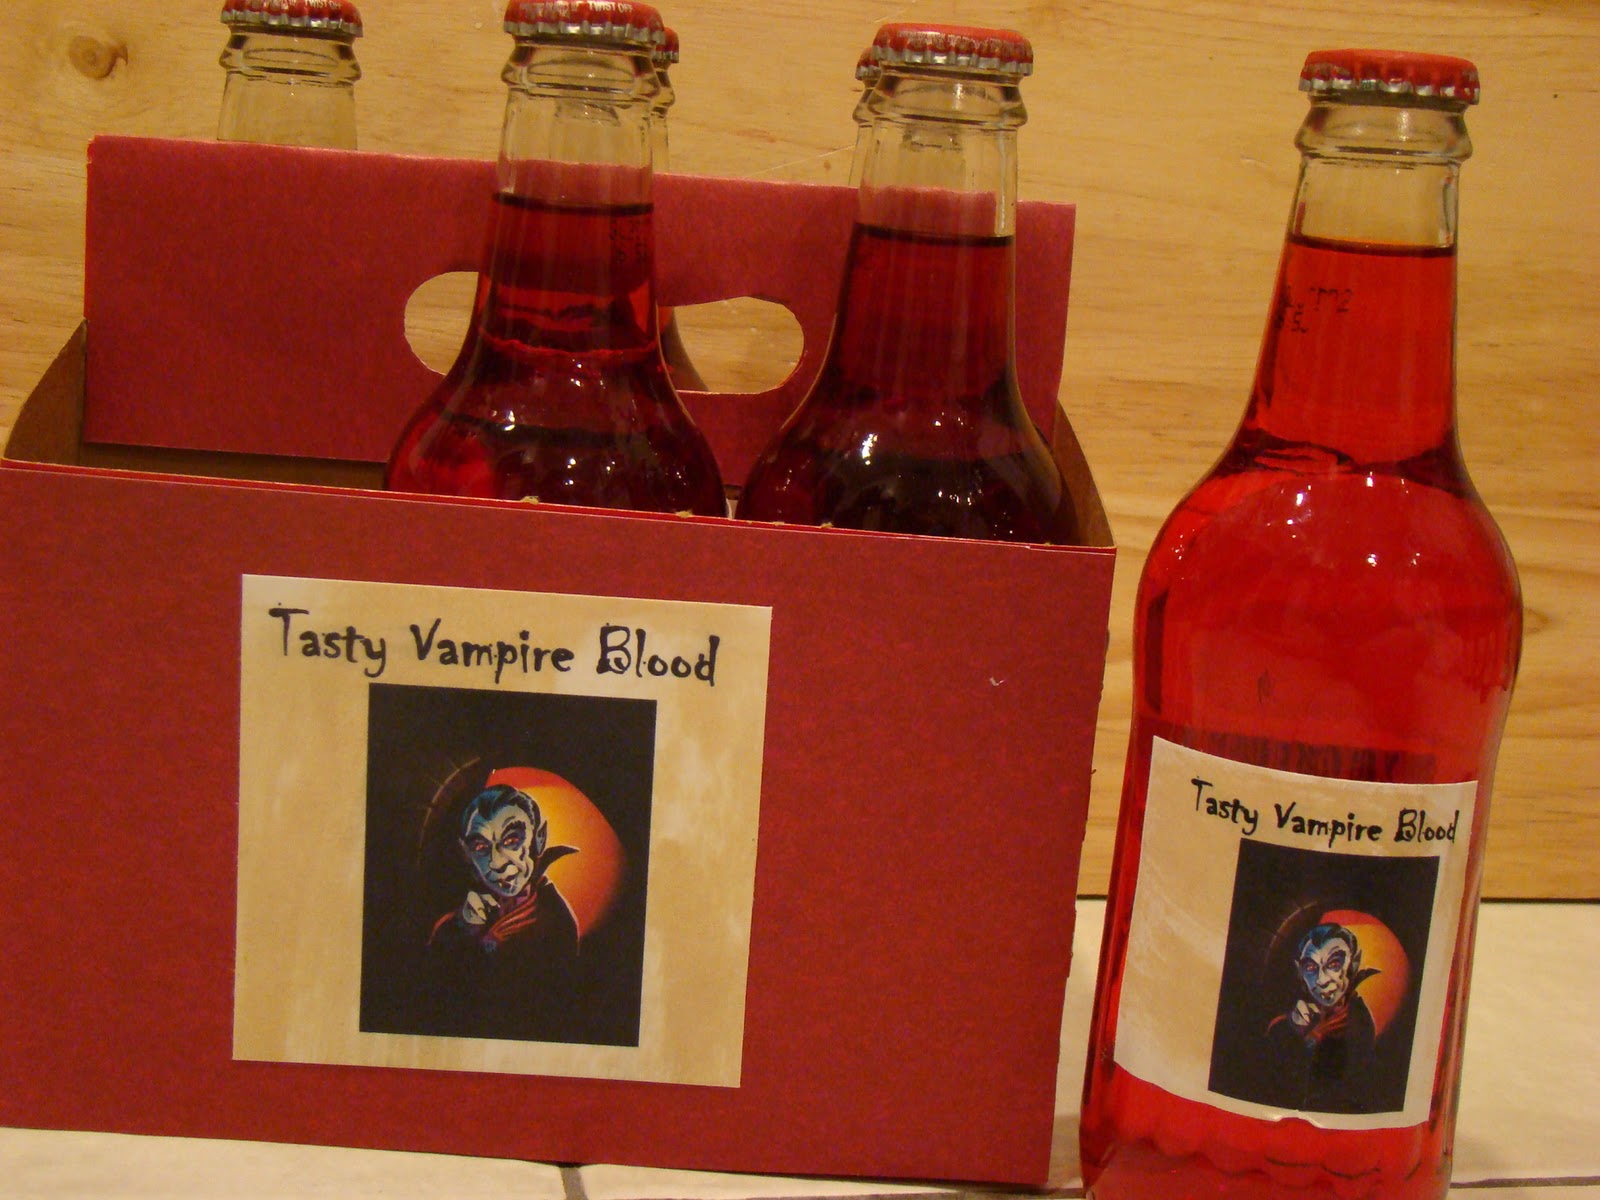
a variety of sodas.  I used Crush because they had all the Halloween colors.  The grape colored sodas actually look black, perfect for bat juice


First, trace out the box tray with colored paper and trim to size.  Next, use Mod Podge to glue pieces on the box
Print out some labels using Microsoft Word or download them from the internet.  I used some Ranger Distress Ink to distress the picture

Rub the ink on the paper.  The distressed picture will look like this:

Trim your labels with scissors and use Mod Podge to glue on the bottles and on the boxes


Next, paint the tops with acrylic paint


and here's the finished product:


Cute aren't they?

October 10, 2010

Halloween Bloody Necklace

I took my youngest child, seven year old boy, shopping for his Halloween costume and after looking around a bit, he picked a Zombie costume.  As we walked to the fitting rooms, he noticed a Vampire costume and decided to try it on as well.  After trying them on, he was so excited about both costumes that he wanted to bring them both home.  I said, no, to please pick only one.  After careful thought and consideration, he announced to me, and all the other people in line waiting for a fitting room, that he was going to be a "Zomvamp" for Halloween.  Puzzled at his public announcement, I asked, "what is a Zomvamp?" to which he replied, "a combination of Zombie and Vampire, see mommy, you have to get me both!".  What's a mommy to do?? of course I got him both! my little "Zomvamp"!

I've mentioned before that I don't like "gory" stuff on Halloween, however, every now and then I'm inspired to make something gory.  Like this necklace, for example:


That is definitely gross! it looks like blood spewing out of my neck!


If you want to make your own bloody necklace, here's how I made it:
First, draw on a scrap piece of paper, droopy blood and place a glass on top. You can borrow a glass from one of your picture frames: Don't forget to make circles on each side to pull the ribbon through to hold it.
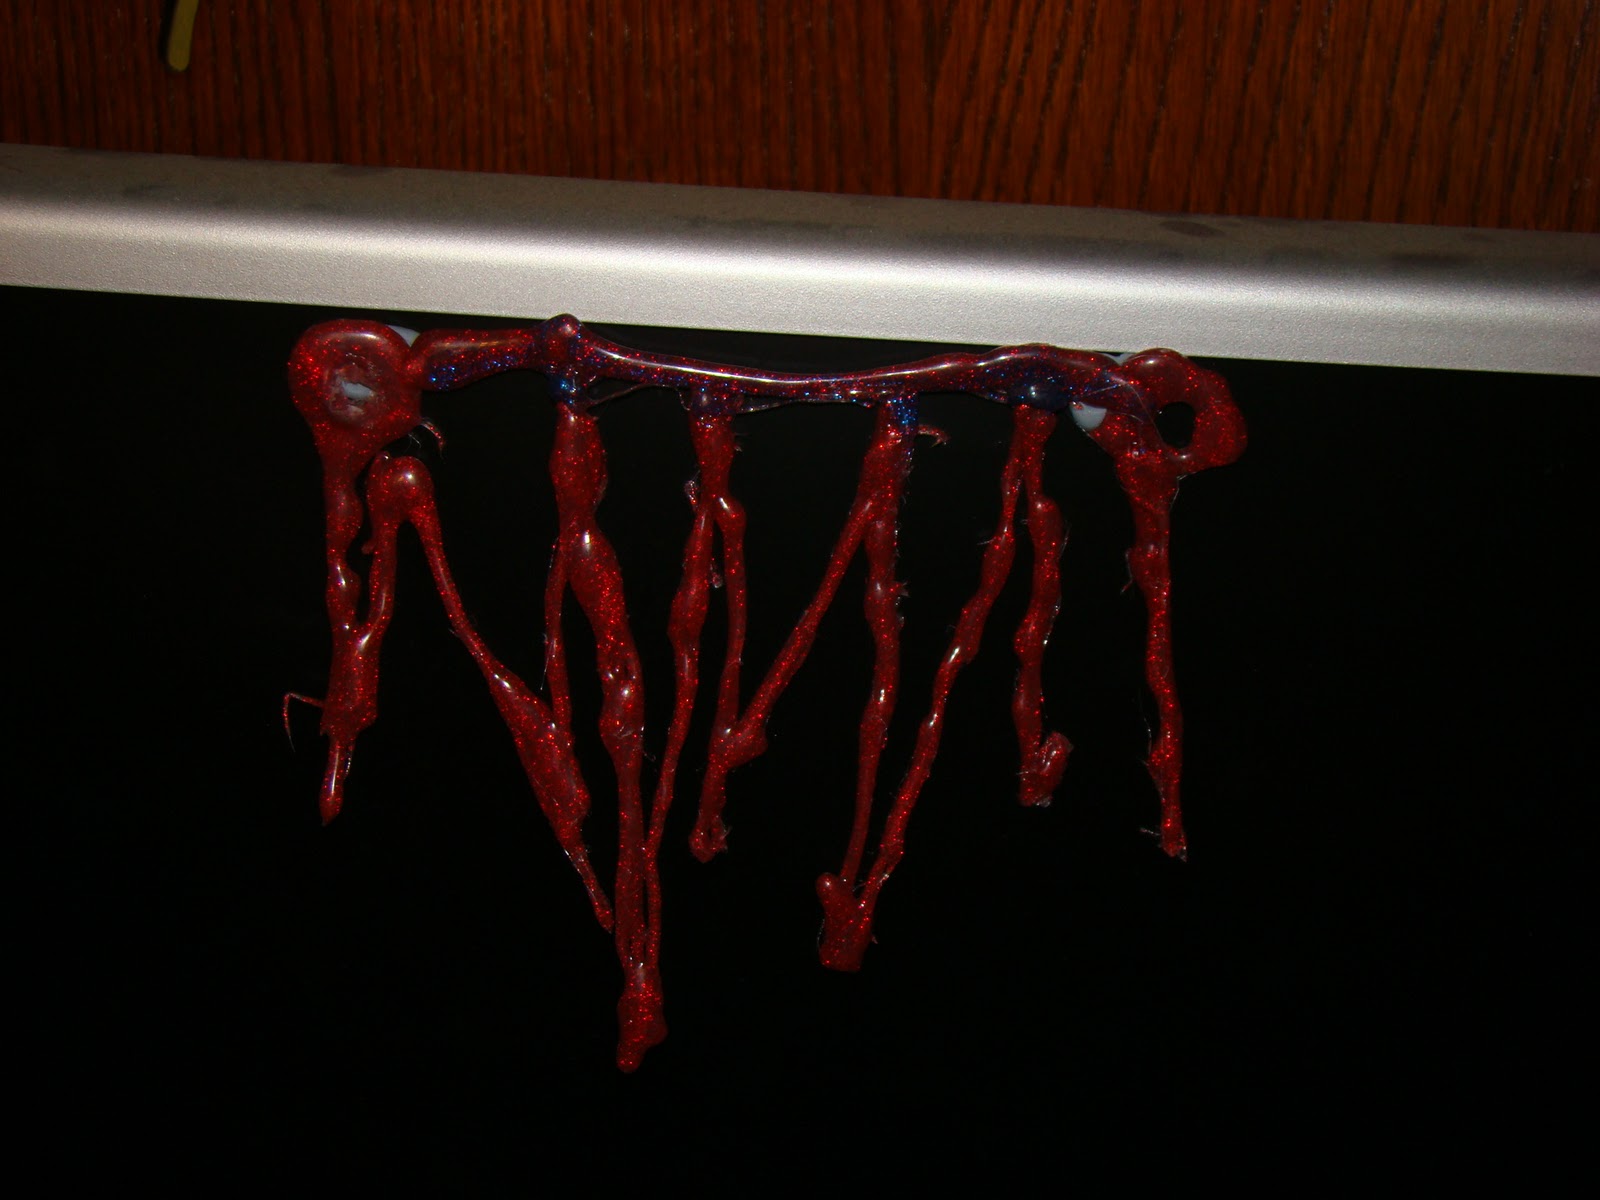
Next, use your glue gun with a red glue stick to trace on top of the glass:
 let it dry and peel off the glass:
tie some ribbon to the ends:

You can also use some of the tacky stuff to adhere it to a mirror or PC monitor:
You can find it at your local hardware store or Target or Walmart:


Hope you liked this creepy bloody Halloween necklace and may your day be filled with fright.


I'm joining these linky Halloween parties:
http://itsablogparty.com/all-halloween-bash/
http://www.sawdustandpaperscraps.com/2010/10/just-t-shirt.html

It's a Blog Party

LinkWithin

Related Posts with Thumbnails